final project ::
the designer as creator

Finding inspiration from everywhere and anywhere!
The potential can be sought out in all things.
The hard thing is allowing our minds to open up for their consideration.
Objective
Throughout the semester you have created works that have fit the guidelines of project specifications while applying your own sense of uniqueness to your independent compositions.
For the final assignment, you will be applying the knowledge of the visual elements, concepts and applications we have employed throughout our class together to create a self-designed, directed and created final project.
Your final work will demonstrate a thorough understanding of the visual language we have employed and the application of a number of the design concepts in your work.
Here are a number of the core concepts we have covered in SA 131 that you will employ:
Concepts we have covered
Types of Unity:
Symmetrical - bilateral / biaxial / inverted
Asymmetrical
Radial Symmetrical
Emphasis and Focal Point
Isolation and Placement
Scale and Proportion
Scale Confusion
Balance
Rhythm, Pattern + Motion and Shapes, and Repetition
Line
Actual + Implied
Contour edge that defines Form + Shape
Line Quality that is emotionally charged
Directional, weight, visual speed, et al.
Shape + Volume
Representational & Abstract
Non-Objective Shape
Positive + Negative Shape
Figure + Ground relationships
Texture:
Actual + Implied textures
Rhythm +Pattern (Variation + Regularity)
Space:
Actual and Illusionistic space
Defining Space via various concepts
Location
Placement
Scale
Overlap
Figure-Ground Relationship
Perspectival Systems – linear perspective vs. placement
Illusion of Motion
Value:
The emphasis of Focal Point
Translating local color to the local value
Illusionistic visual Weight
Gradients of local and optical color
Monochrome / polychromatic
Color:
Local Color and Applied Chroma
Optical Color
Optical Color
Hue
Value
Intensity
Color Wheel and variety
Complimentary colors
Secondary
Tertiary
Analogous
Analogous
Vibrating Compliments
Color - Space and visual Temperature
You will develop an original plan based on or combining any of the previous project techniques to create your own distinctive final project.
This will be completed with a minimum of 12 evolutionary concept designs in your sketchbooks.
You may not reproduce another project similar to one that you have previously created.
You may combine parts of previous projects with your own variation to create your new project.

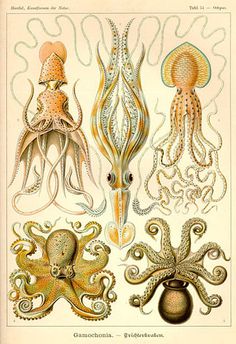
Ernst Haeckel
(February 16, 1834 – August 9, 1919),
was a German philosopher, biologist, naturalist, physician, professor, and artist found inspiration from a myriad of things.
(February 16, 1834 – August 9, 1919),
was a German philosopher, biologist, naturalist, physician, professor, and artist found inspiration from a myriad of things.
He created detailed drawings of radiolarians, siphonophores, jellyfish, octopi and other marine life-forms of some of the most beautiful and alluring illustrations of scientific illustration ever created from the 19th century!
Before beginning:
Your Self-Designed project plans must be reviewed by me during our next class meeting!
Think over everything we have covered.
Our initial review will be your starting point, evolve it from there!
You will need to complete:
A written narrative proposal (1 page), plus your initial 4 thumbnail sketches

1. What concepts are you applying?
2. What fundamental elements are you targeting?
3. What materials will you be using?
4. What size will the final piece be?
5. Does your material choice relate to the concept?
6. Time rationing, yes, time is a material you must consider!


PROCESS
PART I
PART I
1. You need to do your research and find a Haeckel illustration that will be the inspiration behind your work.
2. Print two copies, one to adhere into your sketchbook.
The second to be submitted with your written proposal.
3. Your completed work will be designed by you and inspired by the Art and Design discipline you are engaged in (major or minor) from; Fashion Design, Interior Design, Studio Art, Photography, Visual Communications.
4. Create one full page, a narrative written proposal (minimum) that describes your process, what concepts you will be targeting, your materials. This will serve you when you and I are in consultation and idea planning.
Plus 4 initial thumbnail sketches to be handed in at your initial project planning session.
Plus 4 initial thumbnail sketches to be handed in at your initial project planning session.
5. Allow more ideas to germinate through your continued engagement.
You will develop a total of 12 thumbnail sketches in your sketchbook.
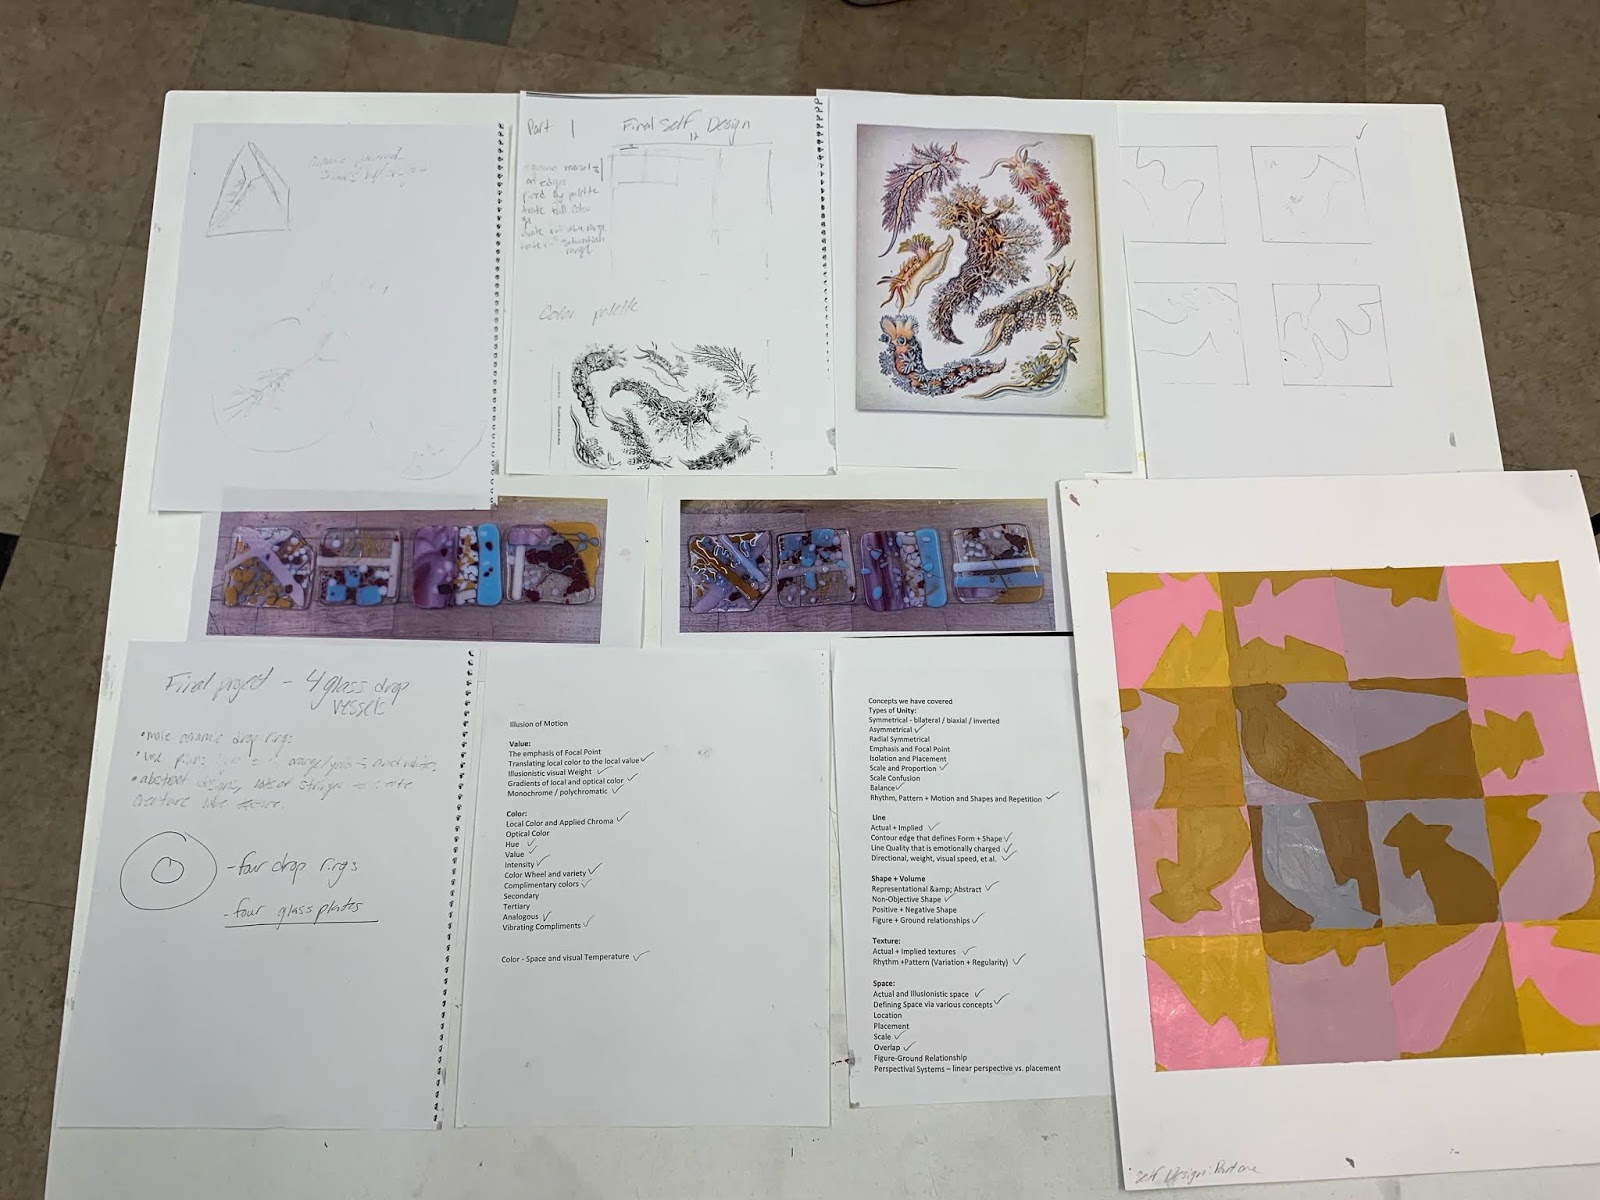
6. Develop your color scheme from the inspiration found in the Ernst Haeckel print. Look back to our Project on Figure-Ground Reversal to create a new template inspired by the color palette and shape you wish to emphasize in the Haeckel illustration.
PROCESS
PART 2
7. Copy and print the following lists of elements and principles of design we have used in this course. 8. Paste them into your sketchbooks.
9. Similar to a grocery list, check off each concept you will be employing in your final project.
As your culminating project for this course, you need to cover as many concepts we have used.
10. From your list, you need to write a one-page narrative proposal (minimum) of what you intend to create, the materials it will take, the concepts you are employing.
PROCESS
PART III
PART III
11. Begin and steer your final work to a successful conclusion of the thoughtful organization of concept, evolutionary growth, and exquisite craftsmanship. Do not forget to think about how it will be presented. Will your presentation hang from the wall, suspended from the ceiling, sit on the floor?
12. When presenting your work you will need to include copies of your evolutionary sketches AND the Ernst Haeckel illustration.
13. Reminder, this is the culminating project of the term, so bring in all that you can to the design and conceptualization of your work.


Inspired by Ernst Haeckel's 19th century illustrations

nature inspired / designer created


 |
| Ai Wei Wei "Bird's Nest" Olympic Stadium Beijing, China |


Crustacean inspired
 |
| daVinci drawings - concepts towards flight |


Armadillo Shoes by Alexander McQueen 2010
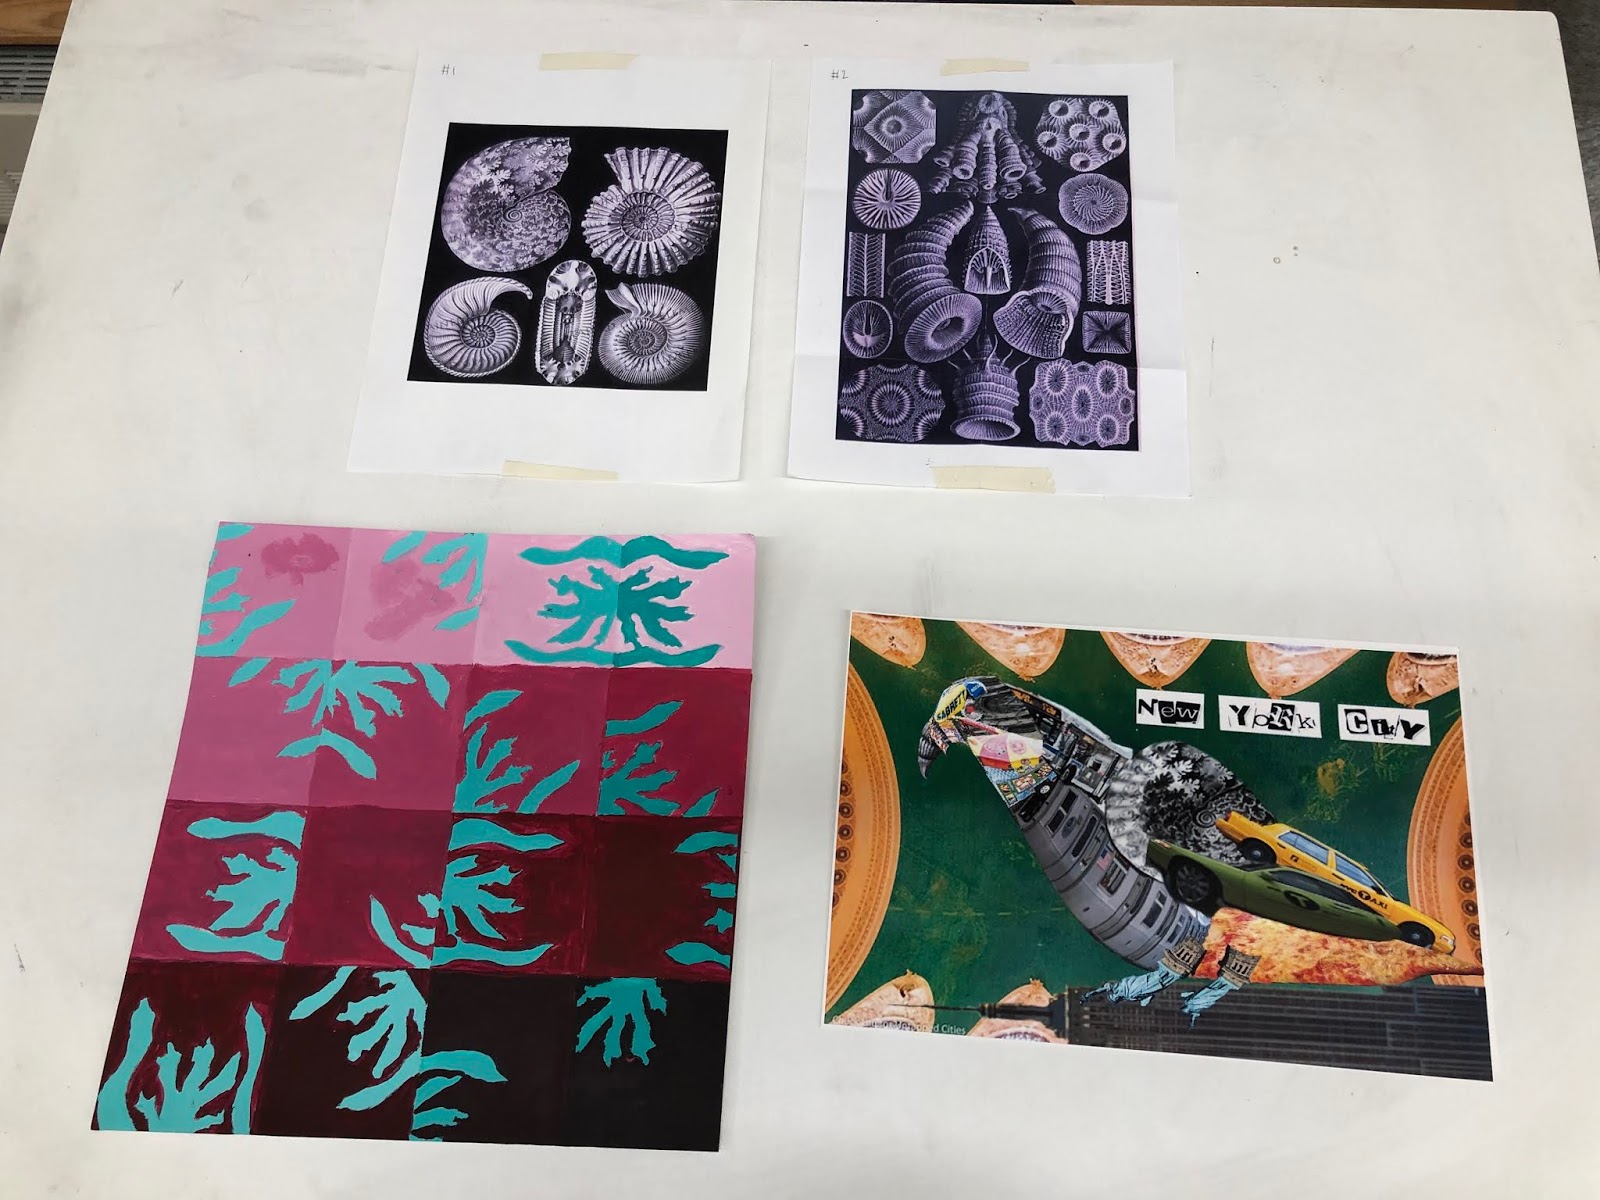
Student Work Samples


"Dropped" glass
approximately 8" square